The Problem: When Your Code Changes Are a Mixed Bag
Picture this: You’re deep in development, working on multiple features simultaneously. Your editor shows modified files everywhere - some changes belong to Feature A, others to Feature B, and a few are just quick fixes that should be separate commits entirely.
Sound familiar?
Most developers reach for git add . and create one massive commit with a generic message like “fix stuff” or “update features”. But what if I told you there’s a better way?
Git interactive staging is like having a scalpel instead of a sledgehammer. It lets you surgically select exactly which changes belong in each commit, creating clean, atomic commits that tell a story.
The Elephant Theory in Software Development
Before diving into the technical details, let me share a philosophy that changed how I think about commits:
“How do you eat an elephant? One bite at a time.”
In software development, this translates to: How do you manage complex changes? One logical commit at a time.
But here’s where it gets interesting - there’s also the Enterprise Elephant Theory: The bigger the organization, the more careful each “bite” needs to be. Large teams require more deliberate, well-structured commits because:
- Code reviews become more focused
- Rollbacks are surgical, not destructive
- Debugging becomes archaeological - you can trace exactly when and why each change was made
- Team collaboration improves when commits have clear intent
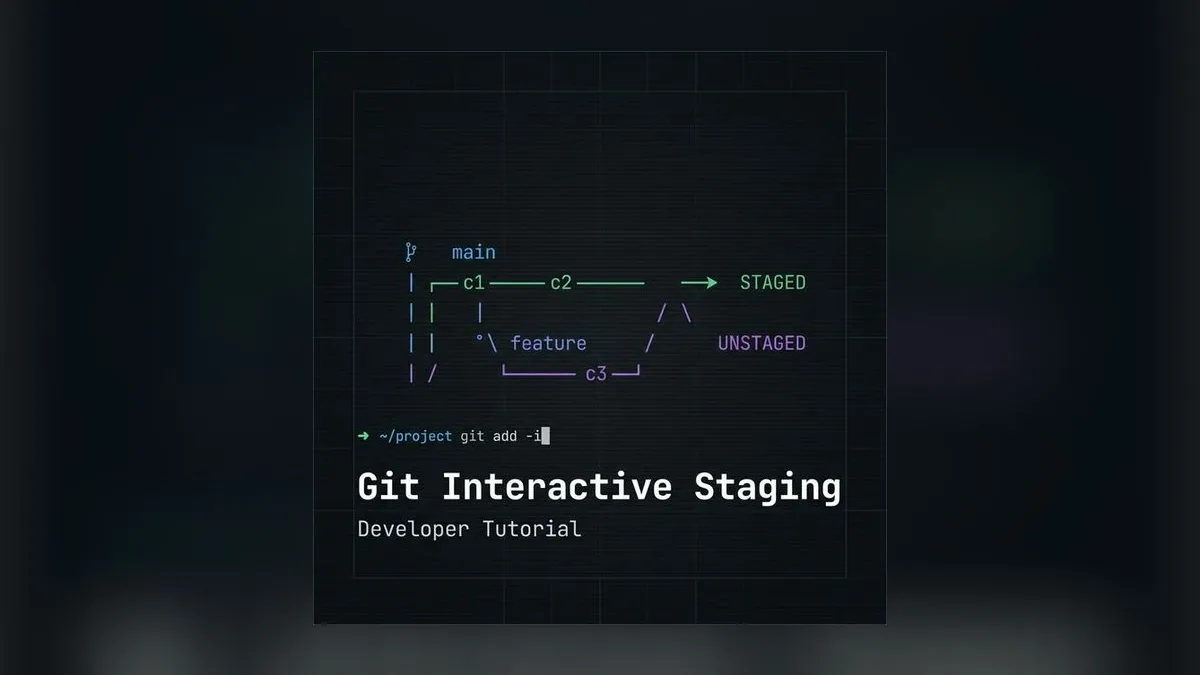
Understanding Git’s Three-Stage Architecture
Before mastering interactive staging, you need to understand Git’s workflow:
graph TD
    A[Working Directory] --> B[Staging Area]
    B --> C[Repository]
    D[git add -p] --> B
    E[Interactive Staging] --> B
    F[Modified Files] --> A
    G[git commit] --> C

    style B fill:#f9f,stroke:#333,stroke-width:2px
    style D fill:#bbf,stroke:#333,stroke-width:2px
The Three Stages:
- Working Directory - Your modified files
- Staging Area - Changes ready to commit
- Repository - Committed history
Interactive staging gives you granular control over what moves from Working Directory to Staging Area.
Git Interactive Staging in Action
Let’s walk through a real scenario. I recently had mixed changes in my editor component:
The Situation
# Check what's modified
git status
modified: src/routes/_protected/editor.tsx
modified: src/styles/pages/editor.cssBut these files contained changes for two different features:
- Phase 2: Core functionality (YouTube input, video controls)
- Phase 3: Advanced features (keyboard shortcuts, UX polish)
The Traditional Approach (❌ Don’t Do This)
# The sledgehammer approach
git add .
git commit -m "update editor features"
Problems with this approach:
- Mixes unrelated changes
- Makes rollbacks difficult
- Confuses code reviewers
- Loses the story of development
The Interactive Staging Approach (✅ Do This)
# The scalpel approach
git add -p
What happens next is magic:
diff --git a/src/routes/_protected/editor.tsx b/src/routes/_protected/editor.tsx
index 1234567..abcdefg 100644
--- a/src/routes/_protected/editor.tsx
+++ b/src/routes/_protected/editor.tsx
@@ -45,6 +45,12 @@ export function EditorPage() {
   const [videoUrl, setVideoUrl] = useState('')
   const [isAnalyzing, setIsAnalyzing] = useState(false)

+  // YouTube URL validation
+  const validateYouTubeUrl = (url: string) => {
+    return url.includes('youtube.com') || url.includes('youtu.be')
+  }
+
 Stage this hunk [y,n,q,a,d,s,e,?]?
Interactive Options Explained:
y- Stage this hunkn- Don’t stage this hunkq- Quit interactive modea- Stage this and all remaining hunksd- Don’t stage this or any remaining hunkss- Split this hunk into smaller piecese- Edit this hunk manually?- Show help
My Decision Process
For each hunk, I asked myself: “Does this belong to Phase 2 or Phase 3?”
Phase 2 hunks (Core functionality) - Press y:
- YouTube URL input validation
- Video analysis logic
- Basic timeline controls
- Clips list rendering
Phase 3 hunks (Advanced features) - Press n:
- Keyboard shortcuts
- Properties panel enhancements
- UX polish CSS
- Export functionality
The Result: Two Clean Commits
# After interactive staging, commit Phase 2
git commit -m "feat: add core video analysis features

- YouTube URL validation and input
- AI-powered clip analysis
- Basic timeline interaction
- Clips list with video controls

Phase 2 complete - fundamental features working"

# Stage remaining changes for Phase 3
git add -p  # Select remaining hunks
git commit -m "feat: add advanced editor features

- Keyboard shortcuts (Space, J/K, Arrow keys)
- Enhanced properties panel with state binding
- UX polish and smooth transitions
- Export system foundation

Phase 3 complete - professional editor experience"
Advanced Interactive Staging Techniques
Splitting Hunks with s
Sometimes Git groups too many changes together. Use s to split them:
Stage this hunk [y,n,q,a,d,s,e,?]? s
Split into 2 hunks.
Manual Editing with e
For ultimate precision, edit hunks manually:
Stage this hunk [y,n,q,a,d,s,e,?]? eThis opens your editor where you can:
- Remove lines you don’t want to stage
- Keep only the changes that belong together
- Create perfectly atomic commits
The Stash Consistency Test
Want to verify your staging is working correctly? Here’s a mathematical proof using MD5 checksums:
# Before stashing
find . -name "*.tsx" -exec cat {} \; | md5sum
# Output: 4292c0e7a7b81794201ce421ea9a4336

git stash
git stash pop

# After stashing
find . -name "*.tsx" -exec cat {} \; | md5sum
# Output: 4292c0e7a7b81794201ce421ea9a4336
Identical checksums = Perfect data integrity!
When to Use Interactive Staging
Perfect Scenarios ✅
- Mixed feature development - Multiple features in same files
- Bug fixes during feature work - Separate fixes from features
- Refactoring + new features - Keep refactoring commits clean
- Code review preparation - Create reviewable, logical commits
- Debugging sessions - Separate debug code from actual fixes
Skip Interactive Staging ❌
- Single, focused changes - When all changes belong together
- New files -
git add filenameis simpler - Emergency hotfixes - Speed matters more than precision
- Experimental branches - Commit history less critical
The Workflow Integration
My Daily Git Workflow
sequenceDiagram
    participant Dev as Developer
    participant Git as Git
    participant Repo as Repository

    Dev->>Git: Work on multiple features
    Dev->>Git: git add -p
    Git->>Dev: Show hunk 1/5
    Dev->>Git: y (Phase 2 feature)
    Git->>Dev: Show hunk 2/5
    Dev->>Git: n (Phase 3 feature)
    Git->>Dev: Show hunk 3/5
    Dev->>Git: y (Phase 2 feature)
    Dev->>Repo: git commit -m "Phase 2"
    Dev->>Git: git add -p (remaining)
    Dev->>Repo: git commit -m "Phase 3"
Integration with Modern Tools
VS Code Integration:
# Install GitLens extension
# Use Command Palette: "Git: Stage Selected Ranges"
Terminal Enhancement:
# Add to ~/.gitconfig
[alias]
    ap = add -p
    stage = add -p
    pick = add -p
Performance Impact and Best Practices
Speed Considerations
Interactive staging is faster when:
- You have clear mental model of changes
- Files are logically organized
- Changes are conceptually distinct
Traditional staging is faster when:
- All changes belong together
- Working on single feature
- Time pressure situations
Best Practices
- Plan your commits before starting interactive staging
- Use descriptive commit messages that explain the “why”
- Keep hunks focused - split when necessary
- Test after each commit to ensure functionality
- Practice the workflow until it becomes muscle memory
Troubleshooting Common Issues
”No changes to stage"
# Check what's actually modified
git diff --name-only
git status -s
"Hunk too large to split"
# Edit manually
git add -p
# Choose 'e' for edit
# Remove unwanted lines in editor
"Accidentally staged wrong changes”
# Unstage specific files
git reset HEAD filename

# Unstage everything
git reset HEAD
The Mathematical Beauty of Atomic Commits
Here’s why atomic commits matter from a mathematical perspective:
Traditional Approach:
Commit = Feature A + Feature B + Bug Fix + Refactoring
Rollback = Lose everything
Atomic Approach:
Commit 1 = Feature A
Commit 2 = Feature B
Commit 3 = Bug Fix
Commit 4 = Refactoring

Rollback = Surgical precision
The Formula:
Code Quality = (Atomic Commits × Clear Messages) / Mixed ChangesKey Takeaways
- Interactive staging is surgical precision for your commits
- The Elephant Theory applies - eat complex changes one logical bite at a time
- Enterprise teams benefit most from clean, atomic commits
- Practice makes perfect - the workflow becomes natural with repetition
- Mathematical proof exists for Git’s data integrity during staging operations
Next Steps
Immediate Actions:
- Try
git add -pon your current project - Practice splitting mixed changes into logical commits
- Experiment with hunk splitting (
s) and editing (e)
Advanced Learning:
- Explore
git add --patchwith specific files - Learn about
git commit --patchfor direct staging+committing - Master
git rebase -ifor commit history editing
Share Your Experience:
- How has interactive staging changed your workflow?
- What’s your biggest challenge with commit organization?
- Have you discovered any unique use cases?
Remember: Great developers don’t just write great code - they tell great stories through their commit history. Interactive staging is your tool for becoming a better storyteller.
Want to see more Git mastery techniques? Follow @sandikodev for advanced development workflows and tools that actually matter.


Comments